How to Remove Sticker Goo from Your Car’s Dash, Windows, and Paint
Peeling off an old decal only to find a gummy, stubborn mess underneath can ruin your day. Reach for a bottle of rubbing alcohol or a citrus-based cleaner for a quick, effective fix that won’t harm your surfaces.
- The absolute safest way to clean your car’s dashboard without causing cracks or fading.
- How to get windows crystal clear without leaving behind any sticky film or streaks.
- Protecting your car’s paint job while completely dissolving the adhesive.
- My tested, step-by-step process for each type of surface in your vehicle.
- The household items and specialized products I always keep in my cleaning caddy.
I’ve tested these methods for years on everything from toddler sticker books to the residue from my husband Roger’s hunting permits.
First Things First: Your Goo-removal Game Plan
Before you attack that sticky mess, stop and look at what it’s stuck to. The surface dictates your strategy.
Is it the textured plastic of your dash, the slick glass of a window, or the sensitive paint on your car’s body? Each one reacts differently to cleaners.
Using the wrong solvent on a dashboard can leave a permanent, dull patch, while the same solvent might be perfect for glass.
I give this job a panic-level score of 2 out of 10. There’s no “golden window” to catch the stain like with fruit juice.
This is a task for patience, not speed. You won’t ruin anything by taking your time to pick the right method.
The core principle I follow is to start gentle and get more specific only if you need to. Always, and I mean always, do a test patch in a hidden corner first.
Your Tool Kit: From Kitchen Cabinet to Garage Shelf
You don’t need fancy gear to start. Many effective solutions are already in your home.
Common household items can break down adhesive without harsh chemicals.
- Vegetable or Canola Oil: My go-to for a gentle start. It slowly dissolves the glue.
- Rubbing Alcohol (70%): Cuts through tougher residue. Dries quickly, which is good for electronics.
- White Vinegar: A great acidic option that loosens the bond. My aunt Jessica in Arizona uses this for wine bottle labels.
- Baking Soda Paste: Mix with water or oil for a mild abrasive scrub on durable surfaces.
- Peanut Butter: The oils work like cooking oil. Just avoid crunchy kinds on delicate surfaces!
For stubborn or large jobs, specialized products have their place.
- Dedicated Adhesive Removers: Look for citrus-based (safer) or petroleum-based (stronger) formulas.
- Plastic Trim Cleaner: Formulated to clean without damaging or drying out dash materials.
- Automotive Glass Cleaner: Excellent for final polishing after the goo is gone.
Your tools are just as important as your solvents.
- Microfiber Cloths: They grab residue without scratching.
- Soft Plastic Scraper: An old gift card or library card is perfect. Never use metal here.
- Razor Blade Holder: For glass only. It safely scrapes off thick layers.
- Cotton Swabs: Ideal for precision work around buttons and vents.
For a safe first attempt, I recommend trying cooking oil or white vinegar-they’re effective and you likely have them on hand.
What Helped Me: The Power of Patience
Last year, Roger’s truck had an inspection sticker that was more fossil than decal. The paper peeled off, leaving a thick, gray goo ring.
I soaked a cloth in canola oil and laid it over the residue for a full ten minutes. I let it sit while I helped Jason with his soccer cleats.
When I came back, I gently nudged the edge with an expired credit card. The goo rolled up like soft putty.
Letting the solvent sit and do its work was far more effective than any frantic scrubbing. That dwell time is everything.
I used patience, not force, and the glass was clear without a single scratch. Remember, slow persuasion wins this race.
Conquering the Car Dashboard and Interior Plastics
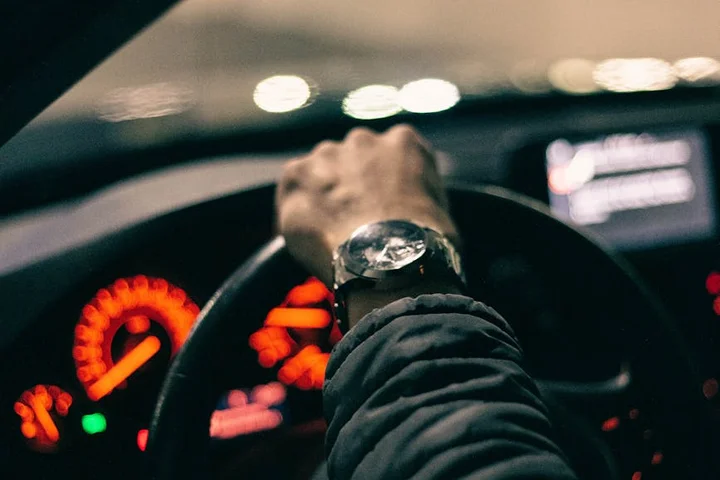
That parking permit from last season or your kid’s tiny soccer sticker can leave behind a sticky nightmare. I know this well. My son Jason’s favorite team decal left a perfect, gummy rectangle on my glove box.
Panic can make you grab the strongest cleaner under the sink. Please don’t. Car interiors are delicate.
The Gentle, Goo-Busting Method
This process works for most common adhesives on plastic and vinyl.
- Apply Your Solvent. Soak a cotton ball or pad with your chosen remover. For a DIY start, I use a simple cooking oil like canola. For tougher jobs, a commercial, plastic-safe goo remover (like Goo Gone) is fantastic. Dab it onto the residue, completely saturating it. Don’t rub yet.
- Let It Sit. This is the magic step. Give the solvent 3 to 5 minutes to work. You’ll see the glossy goo start to turn dull and break down.
- Gently Scrape. Use a plastic card (an old gift card is perfect) or a plastic putty knife. Hold it at a low angle and push the softened gunk away. Using plastic prevents the scratches metal would cause on your dash.
- Wipe Clean. Use a clean microfiber cloth to wipe up the dissolved adhesive and any leftover solvent. For oily residues, a follow-up wipe with a bit of isopropyl alcohol (70% or less) on another cloth will cut the grease.
What is the best method for removing adhesive residue from a car dashboard without damaging the material? It’s important to be cautious, especially when trying to remove stains from car upholstery.
The best method is the gentlest one that works: saturating the residue with a plastic-safe solvent, letting it dwell, and mechanically removing it with a soft plastic tool. That same gentle method can also remove sticky residue from electronic cases, such as phone or laptop housings. Always test your chosen remover in a hidden spot first, like inside the glove box or under the seat.
Material Red Flags: What NOT to Do
Some common household products are dashboard destroyers. My mom, Martha, learned this the hard way on an old vinyl chair.
Avoid acetone, nail polish remover (which often contains acetone), and aggressive paint thinners. These harsh solvents can immediately fog, craze, or even melt certain plastics and soft-touch vinyl coatings. The damage is often permanent, and using such substances on fabric or clothes can cause even more harm.
How do you handle textured surfaces where goo gets stuck in the grain?
Textured plastic is tricky. The goo embeds itself in every little crevice. For this, I switch to a gel-based remover. The thicker formula clings to the vertical surfaces and stays in the texture. After letting it sit, use a very soft-bristled brush (a clean, dry toothbrush works) to gently agitate the grain. Wipe with a cloth. You may need two passes.
What should I avoid using on a car’s interior dashboard when removing glue?
Beyond harsh solvents, avoid abrasive scrub pads (even the “non-scratch” ones can haze plastic), steel wool, and excessive force with any scraper. Heat guns or hair dryers can warp plastic if you’re not extremely careful. Stick to chemical dissolution and gentle, plastic scraping.
The Surface Compatibility Chart: Dash & Interior
| Surface Type | Best Approach | My Go-To Tools |
|---|---|---|
| Smooth, Hard Plastic | Most forgiving. Use oil, rubbing alcohol, or commercial remover. | Canola oil, 70% isopropyl alcohol, plastic card. |
| Textured Plastic | Needs a clingy solvent. Gel removers are ideal. | Goo Gone gel, soft-bristle detail brush, microfiber towel. |
| Soft-Touch Vinyl / Coated Plastic | Be extra gentle. Test first. These coatings scratch and stain easily. | Mild citrus-based remover, ample dwell time, gentle dabbing with a cloth. |
Clearing Up Car Windows and Glass
Glass is the easiest surface to clean in your car, but you can still leave streaks or, worse, scratches if you’re not careful.
The Two-Step Glass Cleanup
- Soften the Goo. Spray the residue with a 50/50 mix of white vinegar and water, or use rubbing alcohol. Let it sit for a minute to break down the adhesive.
- Remove the Residue. You have two great options:
- Razor Blade Method: My preferred method for large, stubborn patches. Details below.
- Cloth & Elbow Grease: For smaller spots, the soaked adhesive should wipe away with a sturdy microfiber cloth. Use a fingernail for stubborn bits if needed.
Is it safe to use a razor blade on car windows to remove sticker residue?
Yes, but only with the correct technique. You must use a fresh, single-edge razor blade holder (the kind that holds the blade flat). Always spray the glass with your vinegar solution or glass cleaner first to lubricate the surface. Hold the blade at a very shallow angle (almost flat against the glass) and push it, never pull it, across the gunk. The lubrication and flat angle prevent scratches.
How can I safely remove sticker goo from car windows without leaving streaks?
The secret is in the final clean. After the sticky stuff is gone, you’ll have a clean, oily patch. Spray the entire window with a dedicated automotive glass cleaner, not an all-purpose spray. Wipe it down with a clean, dry microfiber cloth. Flip the cloth to a dry side and buff again.
Post-Treatment Recovery
Always finish by buffing the glass dry with a clean, lint-free microfiber cloth. This last buffing step is what eliminates streaks and gives you that crystal-clear finish.
Chemistry Corner: Why Solvents Work on Goo
Sticker adhesive is a long-chain polymer think of it like a sticky, stretchy web. Aggressive solvents like acetone tear that web apart violently, which can also damage your dashboard.
Gentler solvents like rubbing alcohol, citrus oil (d-limonene), or even cooking oil work by wedging themselves between the polymer chains. This breaks their bonds to each other and the surface, turning the solid, sticky goo into a loose, wipeable gel. It’s a controlled breakdown, not a destructive melt.
Protecting Car Paint and Exterior Surfaces
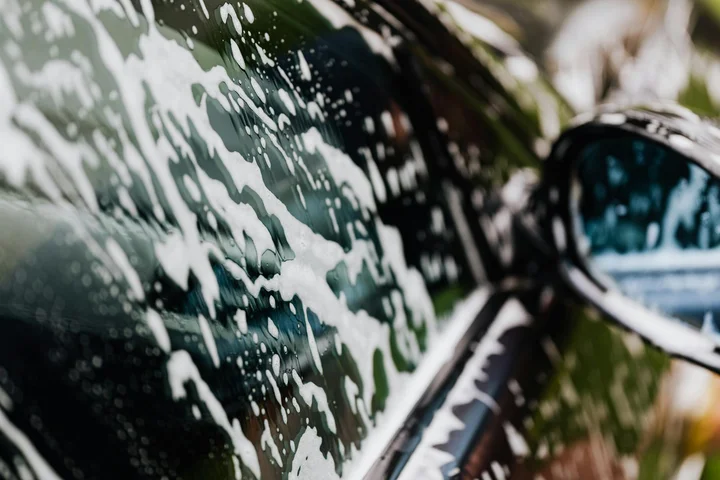
Your car’s clear coat is surprisingly fragile. I learned this lesson years ago watching my husband Roger try to scrub a sap spot off his truck with a rough sponge. That tiny scratch in the shine never fully buffed out.
Treating the paint with anything harsher than soap first is a gamble with a very expensive finish.
Here is the safe, three-step method I always use on paint. It works for fresh goo and old glue.
- Always start with soapy water. Mix car wash soap in a bucket. Soak a soft microfiber cloth and lay it over the adhesive for a few minutes. Gently rub. This often lifts new residue with zero risk.
- Move to a dedicated automotive tar and adhesive remover. If soap fails, apply a small amount of this product to a clean cloth. Dab it onto the glue, let it sit for 60 seconds to dissolve, then wipe gently.
- Wash and wax the area immediately. Once the glue is gone, wash the whole panel with car soap. Then, apply a fresh coat of wax. I never skip this final protection step.
You might eye the pantry for a solution. My aunt Jessica loves her DIY fixes, but kitchen products worry me on paint.
Very few household items are truly safe for car paint; things like cooking oil or nail polish remover can leave a damaging film or permanently dull the clear coat, especially when used for stain removal.
What about rubbing alcohol from the medicine cabinet? It’s a strong solvent.
I used it once on a tiny decal spot in a pinch. It worked, but the paint felt dry afterward.
Rubbing alcohol can strip wax and haze the clear coat, so only use it as a last resort on paint, followed instantly by a full wash and wax.
Bumper stickers are a common headache. The safest removal uses patience and heat.
Peel up a corner after warming it with a hairdryer on low. Slowly pull back while heating the glue line. Any leftover residue gets the soap-and-remover treatment, similar to cleaning glue stains from fabric.
Heat makes the adhesive gummy and stretchy, letting you peel the sticker off in one piece with less glue left behind.
Old decals or pinstripes are crusty and stubborn. My mom Martha’s car had years-old dealer badges.
For these, heat is essential. Wave a hairdryer back and forth over a small section. When the glue softens, use a plastic card to roll it off.
Controlled heat reactivates ancient adhesive, allowing you to remove it mechanically before you even touch a chemical remover.
After the Goo is Gone: The Final Wipe-Down
Removing the sticky mess often leaves a new problem. Every solvent leaves an invisible, oily film.
This residue feels slick and will attract dust fast, so a final cleaning is non-negotiable.
You need a two-step process for each surface type. Here is my routine.
- For the dashboard and interior plastics: First, wipe with a cloth dampened with water. Then, use a quality plastic trim cleaner. I use one that leaves a matte finish, not a greasy shine.
- For windows and glass: A standard glass cleaner and a lint-free cloth are perfect. Spray, wipe in circles, and buff dry. This banishes any streaky film.
- For exterior paint: As in the safe method, always wash the area with car soap. Follow with wax. Roger is fanatical about this on his truck to protect it from our Southern Texas sun.
How do you make sure no residue is left? The answer is in the follow-up product.
After using any adhesive remover, immediately clean the surface with a product designed for that material—glass cleaner for glass (especially when removing water spots from glass windows or mirrors), car soap for paint, trim cleaner for plastic.
Recommended Products: Choosing Your Weapon
Walking the auto aisle can be overwhelming. I break products into categories based on their job.
- Citrus-based adhesive removers: These smell like oranges and use d-limonene. They are gentler, great for interiors and plastics. I used one on a sticker my son Jason left on the car door panel.
- Automotive-specific goo removers: Formulated for cars, these gels or liquids are balanced to be tough on glue but safe on vinyl and painted trim.
- Quality plastic trim cleaner: This is for the final wipe on your dash. Look for one with UV protection to prevent fading.
- Professional tar and adhesive remover for paint: This is the strong stuff. It’s for exterior paint only and requires quick washing off. It’s what I use on tough, baked-on glue.
People often ask me for brand names. I focus on the type instead.
The most important thing is to choose a remover labeled for your specific surface-interior plastic, automotive glass, or vehicle paint-to avoid accidental damage.
FAQ about Removing Sticker Goo and Adhesive
What household products are effective for removing adhesive from car paint?
Very few household items are truly safe for paint. For a small spot, you can cautiously use rubbing alcohol as a last resort, but you must wash and wax the area immediately afterward to protect the clear coat.
What commercial adhesive removers are recommended for automotive surfaces?
Choose a product specifically formulated for your target surface. Use a gentle, citrus-based remover for interiors, and a stronger, automotive-specific tar and adhesive remover for tough jobs on paint.
How do I remove old decal or pinstripe adhesive from car paint?
First, soften the adhesive with a hair dryer on a low setting. Gently roll the loosened glue off with a plastic card, then use an automotive adhesive remover for any leftover residue. For glue on carpet, the method shifts to blotting with a carpet-safe solvent to lift the stain without fraying fibers. Always test a hidden spot first to avoid damage.
What is the safest way to remove bumper sticker residue from car paint?
Apply low heat with a hair dryer to the sticker, then slowly peel it back while heating the glue line. This method minimizes the amount of adhesive left behind to clean.
How do I clean the area after removing the adhesive to ensure no residue is left behind?
Immediately follow up with a cleaner made for that specific surface. Use a plastic trim cleaner for your dash, automotive glass cleaner for windows, and a full car wash and wax for paint. If the interior plastic trim has fine scratches, a light restoration step can help. We’ll point you to instructions on removing scratches from interior plastic trim in the next step.
Your Go-To Plan for Lasting Cleanliness
Always test your removal method in a hidden spot first-this simple habit is the absolute best way to keep your car’s dash, glass, and paint safe. I use this check every single time, whether I’m dealing with old decal glue or price sticker residue. For more step-by-step guides and home-tested solutions, follow along right here on the blog.
Written by Suzanne Rosi Beringer. Suzanne is an accomplished chemist, laundry expert and proud mom. She knows the science and chemistry of stains and has personally deal with all kinds of stains such as oil, grease, food and others. She brings her chemistry knowledge and degree expertise to explain and decode the science of stain removal, along with her decades long experience of stain removal. She has tried almost everything and is an expert on professional and DIY stain removal from clothes, fabric, carpet, leather and any other items dearest to you.