How to Remove Lily Pollen Stains from Clothing, Upholstery, and Fabrics?
Did you just get that telltale orange dust on your favorite shirt? Stay calm. Your immediate response sets the stage for success, so grab some sticky tape to lift the pollen away without smearing it.
This article will give you my tested, room-by-room methods. We will cover the critical first step everyone misses, a simple soap trick for most clothing, upholstery rescue for couches and car seats, handling delicate silks and wools, and what to do if the stain has already set.
I’ve dealt with lily pollen on everything from my husband Roger’s hunting gear to my mom Martha’s vintage linens.
Panic Level and Your Golden Window for Lily Pollen Stains
Take a breath. I see that bright orange dust on your black shirt and I feel your pain.
The panic level for a fresh lily pollen stain is a solid 7 out of 10, but panicking is the worst thing you can do.
You have a “Golden Window” of a few hours when the pollen is still a dry powder. After that, it becomes a greasy, yellow-orange mark that’s tougher, but not impossible, to fix.
My son Jason brought home a gorgeous bouquet after his soccer awards night. He was so proud. Ten minutes later, I had a perfect dusting of that bright pollen smeared across the arm of my favorite sofa cushion.
My first instinct was to brush it off. That was a mistake. Brushing or rubbing grinds the oily powder deep into the fibers.
Why This Stain Needs Quick, Calm Action
Lily pollen isn’t just dry dust. It’s an oily, pigment-packed powder. The color stains, and the oil acts like a glue.
Heat is your enemy here, as it will “cook” the oil and pigment into the fabric for good. Never put a stained item in the dryer or in direct sun before the stain is completely gone, especially when dealing with oil stains.
Surface Compatibility: Your Quick-Reference Guide
Your first move changes based on what got stained. This table is your cheat sheet.
| Surface | First-Step Action | Key Note |
| Clothing | Blot with sticky tape. | Yes, pollen can wash out of clothes, but only if you skip the dryer until the stain is 100% gone. |
| Upholstery | Use a dry, soft brush to *lift* pollen away. | I adapted my mom Martha’s tablecloth trick here: gently rolling the pollen into a dustpan without pushing down. |
| Carpet | Vacuum first, with no brush attachment. | Use the hose end to suck up the powder without grinding it in. |
| Delicate Fabrics (silk, velvet) | Use cold air from a hairdryer to blow it off. | No tape, no brushing. The goal is zero contact. |
Adapting the Basics for Each Fabric
After the dry pollen is gone, you must consider the fabric itself. Your three checkpoints are water tolerance, colorfastness, and heat sensitivity.
A silk blouse can’t handle the same treatment as a cotton couch cover. Always test your cleaning solution on a hidden seam or corner first. I keep a spare cushion or an inside hem for this exact reason, especially when treating delicate fabrics.
If a fabric can’t get wet, your options are more limited, but you still have them. The goal is to lift the oily pigment without harming the material underneath.
3. How to Remove Lily Pollen Stains from Clothing (Step-by-Step)
Here is my exact process for tackling that bright orange powder on fabric. It works on everything from Jason’s soccer jerseys to my good blouses.
- Do Not Touch or Rub the Pollen
- Lift the Remaining Grains Dry
- Apply a Pre-Treatment
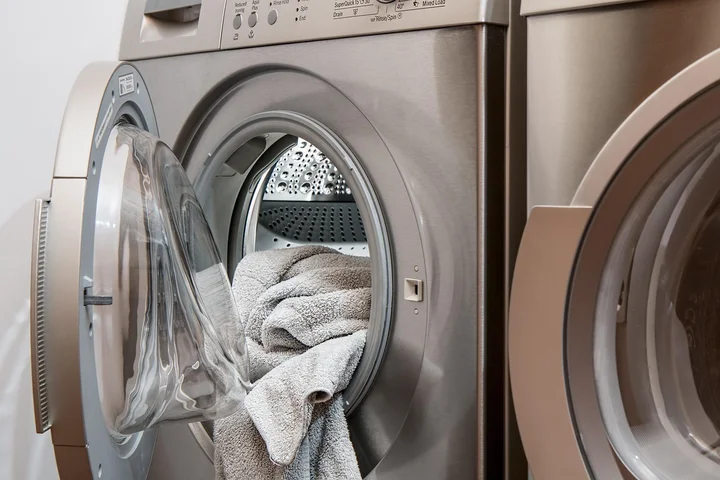
- Wash in Cold Water
Your first instinct will be to brush it off. This is a mistake. Brushing grinds the oily pollen into the fabric threads. Instead, take the garment outside and give it a firm shake to dislodge as much dry powder as possible.
Use sticky tape or a lint roller directly on the stain site. Press gently and lift. You want to pull the pollen grains up, not push them down. I keep a roll of packing tape in my laundry room for this exact job.
Now, attack the oily residue. For most fabrics, I use a single drop of blue Dawn dish soap. It cuts grease gently. Rub it in with your finger and let it sit for 10 minutes. For a tougher stain or a more delicate fabric, mix a paste of baking soda and a few drops of water. This creates a gentle abrasive that can lift the stain. Apply the paste, let it sit for 30 minutes, then brush it away. These same steps also apply to removing grease stains from clothes after a spill. They lift oil without harsh scrubbing, so you can wash as usual.
Wash the garment alone on a cold water cycle. Use your regular enzyme-based laundry detergent. The enzymes help break down the organic stain. Do not use warm or hot water yet, as heat can set the stain permanently.
For a dried, set-in stain, you need to break it down before washing. This approach also helps with oil grease stain removal on clothes. It’s a quick prep that primes greasy spots for the soap treatment. Mix one part white vinegar with two parts cool water. Soak the stained area in this solution for up to 30 minutes. The vinegar helps dissolve the oily pigment. Then, proceed with the dish soap pre-treatment and cold wash.
Let me clear up a common hope. You might wonder, “does rain wash out pollen?” It is a myth. Rainwater can actually spread the oily pigment, making the stain worse and harder to localize. Always deal with it dry first.
My mother-in-law Brianna taught me a great tip for Roger’s work shirts. She uses a dab of rubbing alcohol on a cotton ball for the initial blotting on sturdy cotton. It evaporates quickly and helps dissolve the oil before you even get to the soap. Test it on an inner seam first.
Post-Treatment Recovery for Clothing
This next step is non-negotiable. Do not put the item in the dryer.
After washing, lay the garment flat or hang it to air dry in a shaded, well-ventilated spot. Direct sunlight can fade any remaining stain and make it harder to remove later. To help prevent stains after washing, perform a light post-dry treatment on the fabric. Keep the drying area free from potential spill sources to minimize new staining.
You must check for any faint yellow or orange outline while the fabric is still damp. If you see even a shadow of the stain, repeat the pre-treatment and washing steps. Only when the fabric is completely stain-free after air drying is it safe for a normal dryer cycle.
4. How to Remove Lily Pollen Stains from Upholstery and Other Fixed Fabrics
The rules change when you cannot throw something in the washing machine. The goal is to clean the spot without creating a bigger water stain.
For sofas, curtains, and carpets, start by gently vacuuming the area with a hose attachment and no brush. You need to suck up the dry pollen.
Next, mix a cleaning solution. I use a teaspoon of clear dish soap (like Dawn) in two cups of cool water. Dampen a clean, white cloth with this solution and blot the stain. Use a white cloth so you can see the pollen transfer.
Blot from the outside of the stain toward the center to prevent spreading. Never, ever scrub. Scrubbing frays fibers and drives the stain deeper. It’s one of the stain removal mistakes to avoid.
For a delicate item, like a silk throw pillow, try an absorbent method first. Sprinkle cornstarch or talc-free baby powder over the stain. Let it sit for an hour; the powder will absorb some of the oil. Then, gently vacuum it away. You may avoid using any liquid at all.
The same principles apply to your car’s cloth seats or headliner. Be extra gentle, as car fabrics can be fragile. Use minimal moisture and lots of blotting, especially when dealing with car headliner fabric.
I saved Jessica’s favorite cream-colored armchair this way. She knocked a lily over while “helping” me water plants. I stayed calm, vacuumed, and used the blotting method with a drop of soap. You cannot even tell it happened.
Drying and Final Touches for Upholstery
Overwetting is your enemy here. It can cause water rings or lead to mildew inside the cushion.
After cleaning, press clean, dry white towels into the damp area to absorb as much moisture as possible.
Speed up drying by pointing a fan at the area or opening a nearby window. Good airflow is crucial. Let the fabric dry completely before using the furniture again. This final patience ensures you tackled the pollen stain without creating a new problem.
5. The Science and Safety: Why It Works and What to Avoid
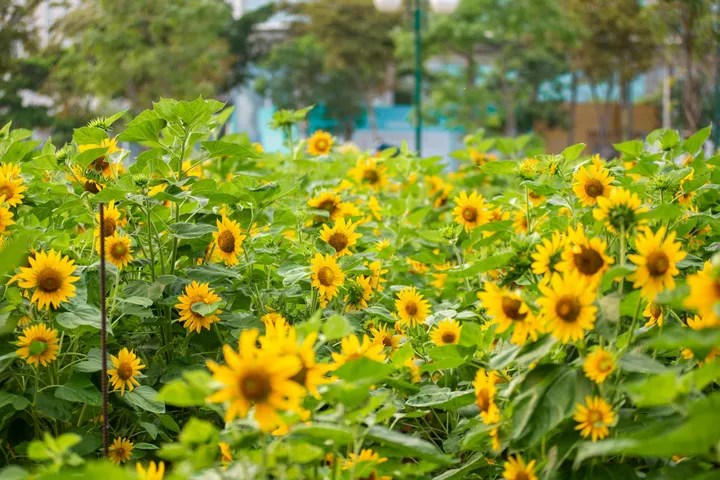
Think of lily pollen as thousands of tiny specks of colored cooking grease. Each grain has a greasy, oily outer coating that holds its intense yellow or orange pigment.
When you brush or wipe at it, you’re often just smearing that oily pigment deeper into the fabric weave. Your goal is to break up that oil without grinding the pigment in further.
Chemistry Corner: Breaking Down the Pollen
The oil in the pollen acts like a glue, binding the colorful pigment directly to your shirt fibers or couch cushion. Dish soap works so well because it’s designed to surround and break up oils (a process called emulsification) so they can be lifted away with water.
Some laundry detergents contain enzymes that help break down the organic part of the stain, making the dish soap’s job even easier for a full laundry load. When comparing enzyme detergents with bleach for biological stains, enzymes target organic matter. Bleach often tackles tougher stains and brightens fabrics.
This simple science is powerful, but you must match it with common sense. Not every fabric can handle this approach.
- Material Red Flags: Be extra cautious with delicate silk, acetate, any item with a “dry-clean only” tag, and antique or irreplaceable fabrics. The agitation needed for home stain removal can damage them.
- The “Never-Use” List:
- Hot Water: It sets oily stains. Always use cold.
- Bleach on Colored Fabrics: It can remove the dye along with the stain.
- Abrasive Brushes or Scrubbing: This grinds particles in and can fray fibers.
My Aunt Jessica learned this the hard way years ago, using a harsh spot cleaner on a nice linen tablecloth; it took the pollen out but left a permanent, faded ring where the chemicals sat too long.
Safety and fabric respect come first. You almost never need harsh chemicals for a lily pollen stain.
Critical Warnings and Patch Testing
I cannot stress this enough. You must do a patch test on a hidden seam or corner of any new fabric or surface before applying your cleaning solution.
This 60-second check can save you from a much bigger disaster. Check for color bleeding, texture change, or discoloration.
This rule extends beyond clothing. If pollen gets on your stone driveway, for example, avoid acidic cleaners like vinegar which can etch the stone. For car interiors, test any cleaner on a spot under the seat first.
When in doubt, take a breath and test it out. It’s the most important step in my entire process.
FAQ about Removing Lily Pollen Stains
I accidentally brushed the pollen instead of lifting it. Is the stain ruined?
No, but act fast. Blot gently with a cloth dampened with rubbing alcohol to dissolve the oil before it sets, then follow the standard pre-treatment.
Can I use hand sanitizer gel if I don’t have dish soap?
Yes, but only use a clear, gel-based sanitizer sparingly. Test it first, as additives can leave their own residue on delicate fabrics.
I cleaned my couch, but now there’s a water ring around the spot. How do I fix that?
Immediately dab the ring with a clean cloth dampened with plain water to dilute the soap residue, then blot dry with towels and increase airflow.
What’s the best way to handle lilies to prevent pollen stains in the first place?
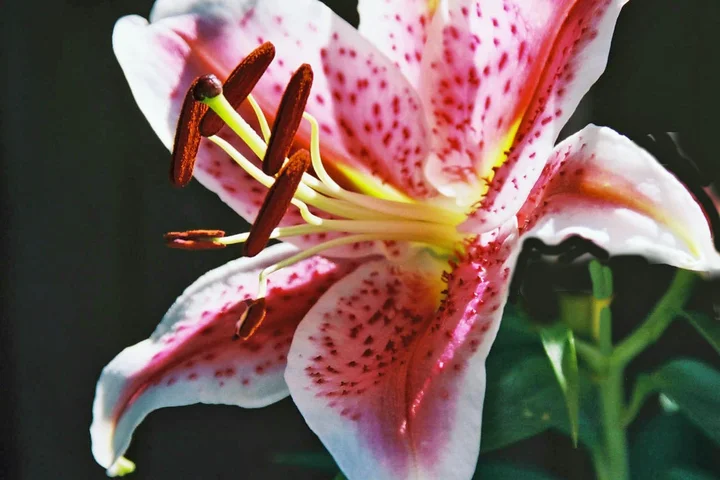
As soon as you get lilies, use scissors to snip off the pollen-laden anthers (the brown tips) before they open and shed. Do this over a trash can.
The stain is completely gone after washing, but my white shirt has a faint yellow tint. What happened?
This is likely oxidized oil. Soak the shirt in a solution of oxygen-based bleach (like OxiClean) and cool water for several hours, then rewash.
Mastering the Lily Pollen Lift-Off
The most critical step is always to remove the pollen by lifting it away, not by rubbing or smearing it. I learned this after saving Roger’s favorite shirt from a bouquet mishap, and it’s the foundation of every successful cleanup. For more hands-on tips that tackle everything from Peeta’s muddy paws to Martha’s vintage tablecloth secrets, stick with me here on Stain Wiki.
Written by Suzanne Rosi Beringer. Suzanne is an accomplished chemist, laundry expert and proud mom. She knows the science and chemistry of stains and has personally deal with all kinds of stains such as oil, grease, food and others. She brings her chemistry knowledge and degree expertise to explain and decode the science of stain removal, along with her decades long experience of stain removal. She has tried almost everything and is an expert on professional and DIY stain removal from clothes, fabric, carpet, leather and any other items dearest to you.